Grit Selection: Building the Right Foundation
Sandpaper grit progression is not arbitrary. Each stage has a specific job: coarse grits remove material and level the surface, while fine grits refine the scratch pattern so primer and paint can bond mechanically. Start with P80–P120 on bare metal or heavy body filler to knock down high spots and feather edges. For factory clear coat scuffing prior to respray, P320–P400 on a DA sander is the industry standard — it removes gloss without cutting through to basecoat.
After filler work, step through P180, P240, and P320 before primer application. The jump between grits should never exceed 100 points; skipping from P80 to P320 leaves deep scratches that will telegraph through primer and paint. Wet sanding with P600–P800 is reserved for final primer leveling and between-coat nib removal.
Always use a sanding block — never your bare hand. Finger pressure creates uneven low spots. For contoured areas, use a flexible foam pad. The block distributes pressure evenly and prevents "finger grooves" that show up under metallic paints.
Cleaner Comparison: Wax & Grease Removers
Every surface carries invisible contamination — silicone, wax, road grease, finger oils, and mold release agents. These contaminants cause fish eyes, cratering, and adhesion failure. The two most common pre-paint cleaners are solvent-based wax and grease removers (WGR) and water-based degreasers.
Solvent-based WGR (like PPG DX330 or DuPont Prep-Sol) dissolve silicone and petroleum-based contaminants. Apply with one clean microfiber cloth, then immediately wipe with a second dry cloth before the solvent evaporates. This "wet wipe, dry wipe" technique lifts contaminants rather than smearing them. Water-based degreasers excel at removing water-soluble salts and light dust but lack the cutting power for silicone contamination.
Testing for cleanliness: Spray distilled water on the panel. If it sheets evenly without beading, the surface is chemically clean. Any beading indicates residual contamination — re-clean before proceeding. This 30-second test saves hours of defect repair later.
Use dedicated white cotton cloths for final wipe-down. Colored towels can transfer dye. Change cloths frequently — a contaminated rag just moves silicone around the panel. Many professional painters use two-cloth method: one dampened with WGR, one dry; never cross-contaminate.
Primer Timing: The Window You Can't Ignore
Primer serves three functions: adhesion promotion, corrosion protection, and surface leveling. But its most critical characteristic is the recoat window — the time period during which you can apply paint without sanding. Epoxy primers have a 72-hour to 7-day recoat window. Urethane primers (2K) have shorter windows, typically 24–48 hours. After the window closes, you must scuff sand before applying basecoat.
Temperature and humidity dramatically affect flash and cure times. At 70°F and 50% RH, most 2K primers flash in 15–20 minutes and can accept basecoat after 30–45 minutes. Below 60°F, flash time doubles. Above 90°F, the primer may skin over before solvents escape, trapping them and causing solvent pop in the basecoat.
Always follow the TDS (Technical Data Sheet) for your specific primer. The TDS is not a suggestion — it's the manufacturer's tested specification. Mix ratios, flash times, and recoat windows are chemistry-dependent. "Eyeballing" hardener ratios leads to soft, shrinking, or brittle primer films.
Masking Techniques: Clean Lines, No Lifting
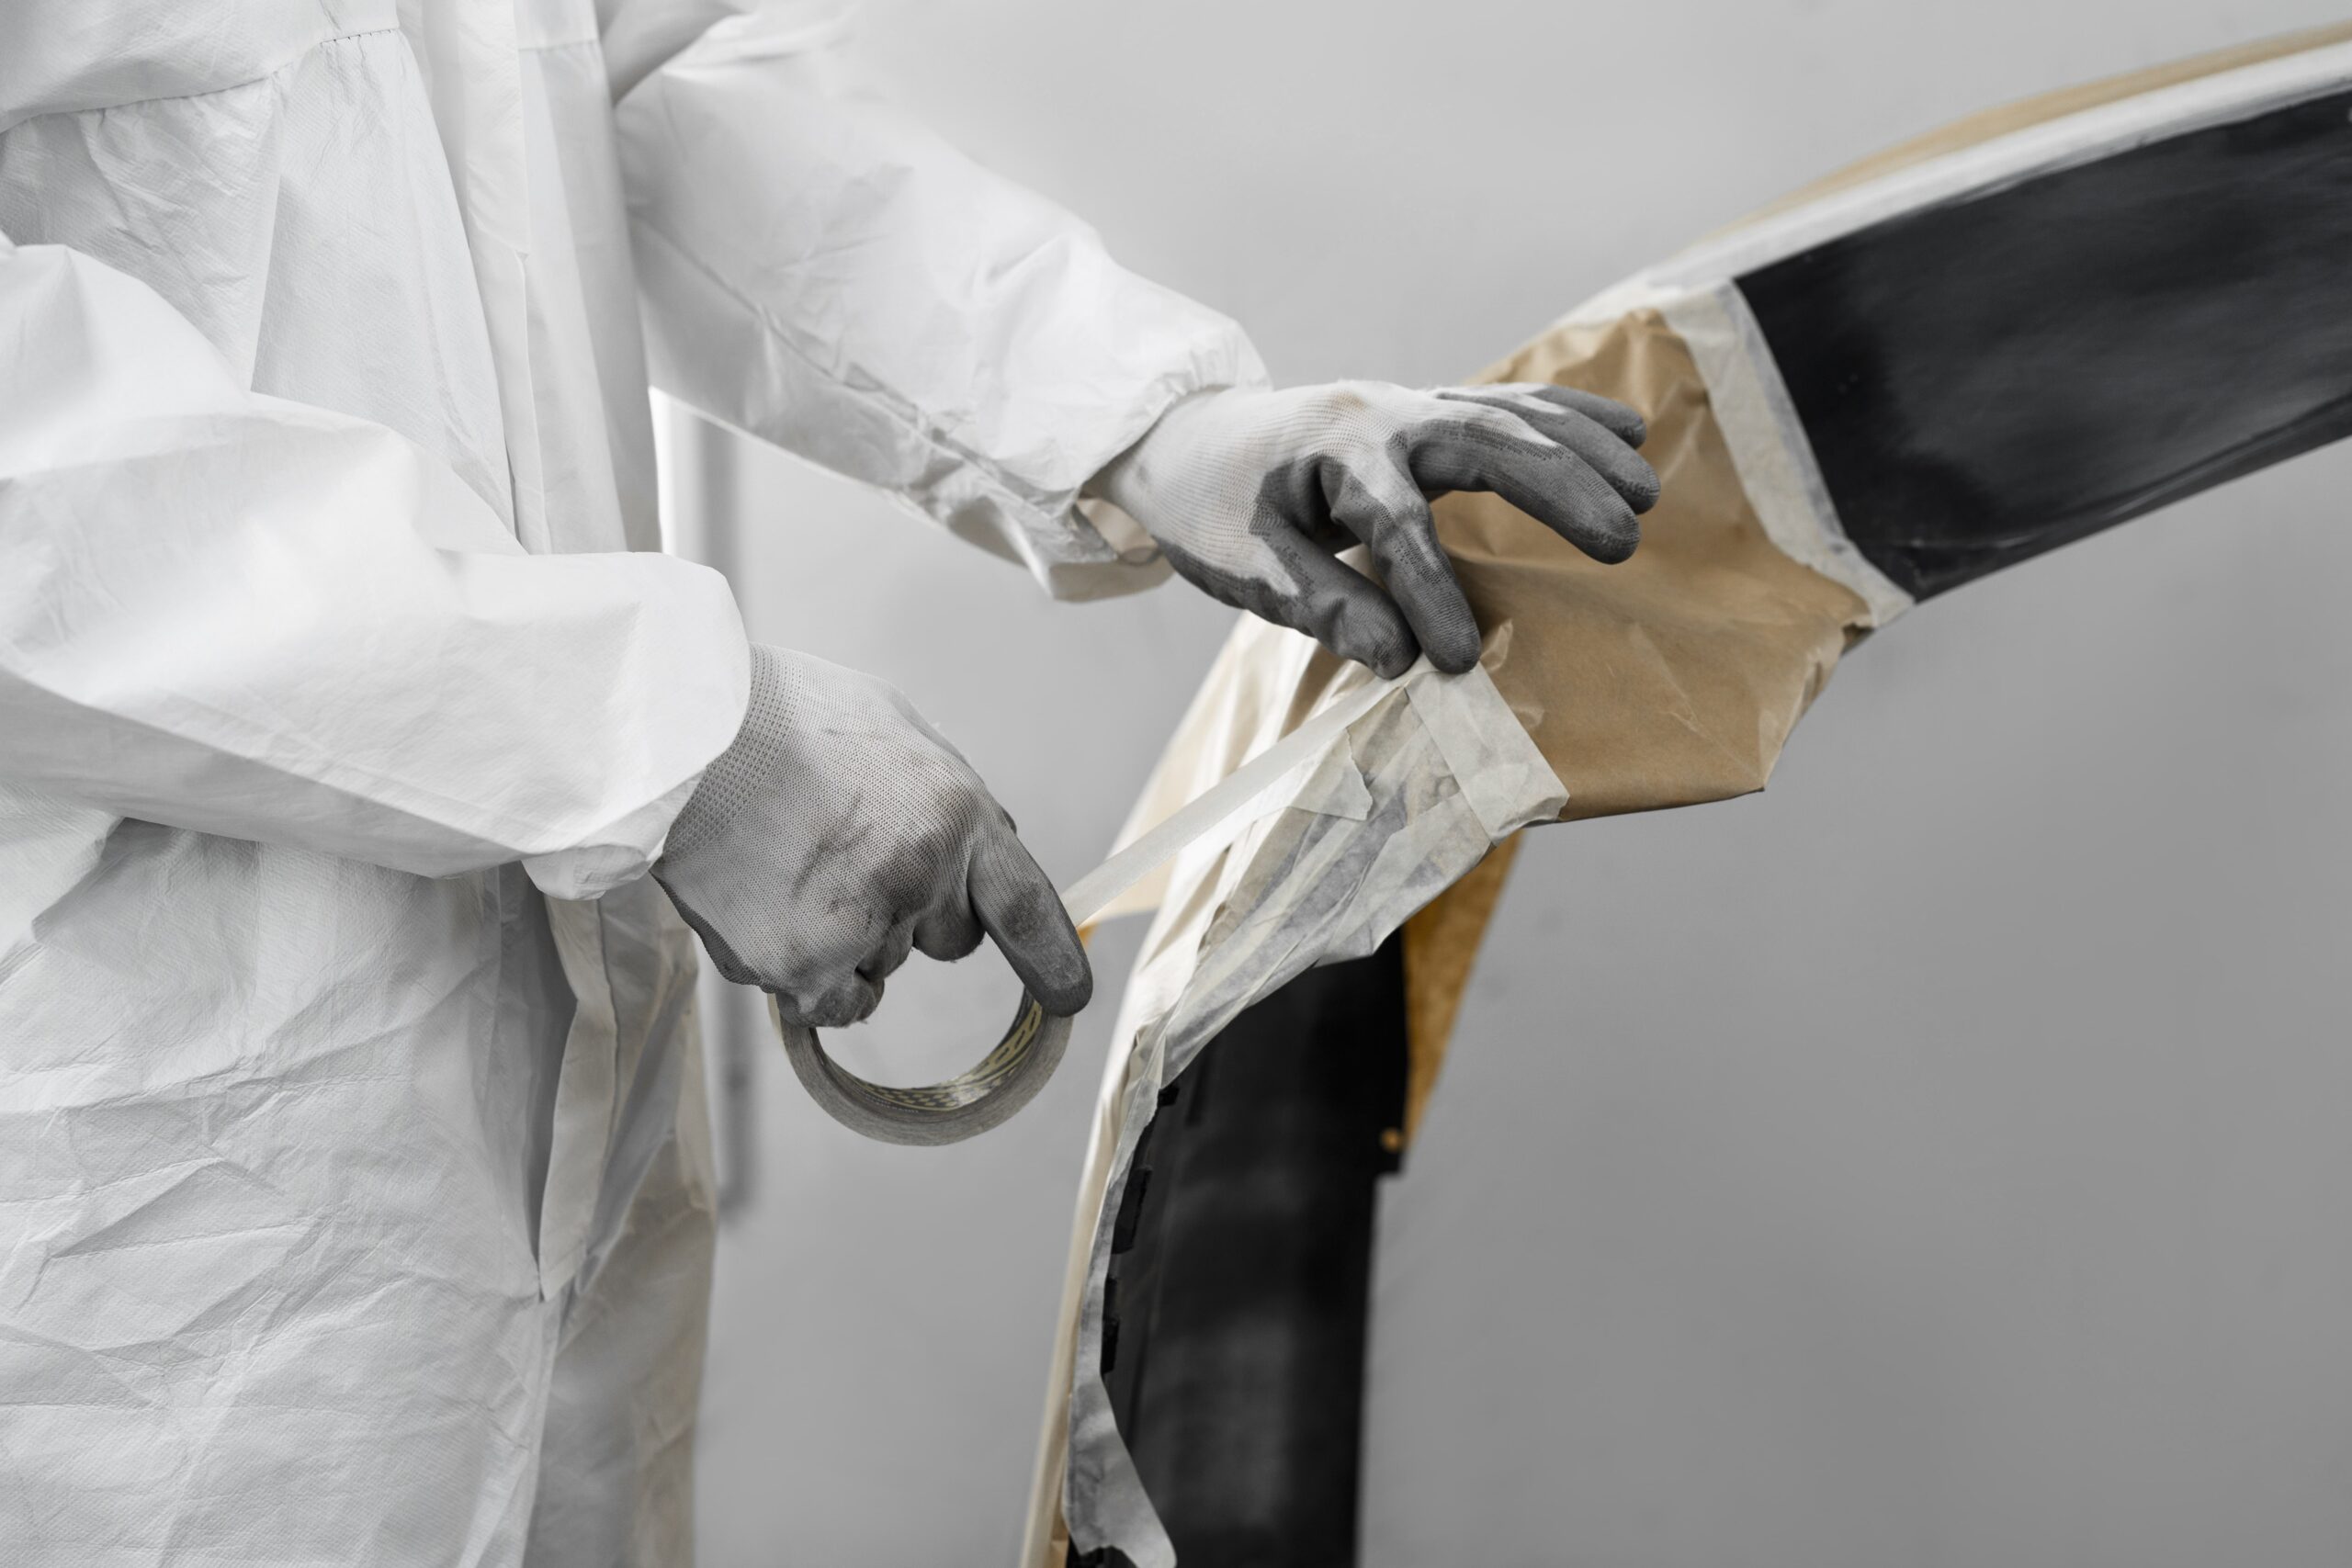
Proper masking prevents overspray damage and creates crisp color break lines. Use automotive-grade masking tape (3M 233+ green tape or equivalent) — household masking tape adhesives can react with solvents and leave residue. For sharp color breaks, apply fine-line tape (3M 471+ or similar vinyl tape) at the boundary, then back-mask with paper and wider tape.
The back-taping trick for jambs: Roll the tape edge back over itself to create a soft, rounded edge. When you spray into door jambs, the paint feathers under the rolled edge instead of creating a hard paint line. After the basecoat flashes, remove the tape while the paint is still soft for the cleanest break.
Cover large areas with masking film or plastic sheeting, not newspaper. Newsprint is porous — solvents and overspray pass through. Use proper masking paper (treated, solvent-resistant) or polyethylene film. Secure all edges tightly; loose plastic flaps in booth airflow and ruins your paint job with contact marks.
The Final Tack Rag Pass
Immediately before spraying, go over every square inch with a clean tack rag. Unfold the tack rag completely, bunch it loosely, and wipe with light, even pressure. Too much pressure transfers wax from the tack rag to the panel. Wipe in one direction — don't scrub back and forth. After tacking, do not touch the surface with bare hands. Skin oils re-contaminate and cause fish eyes that you'll curse later.
Keep your tack rag in a sealed plastic bag when not in use. An exposed tack rag collects airborne dust and becomes a contaminant spreader. Replace it when it's visibly loaded or feels stiff. A fresh tack rag costs $3; rework from contamination costs hours.
Environment Control: Dust Is the Enemy
The best surface prep in the world means nothing if you paint in a dusty garage. Working inside an inflatable paint booth creates positive pressure that keeps airborne particles out. Before spraying, wet the booth floor lightly to trap settled dust. Static electricity attracts dust to plastic panels — an anti-static wipe or a light mist of water helps reduce static cling on plastic body parts.
Key Takeaways
- Follow grit progression: P80–P120 for heavy work, P320–P400 for scuffing, P600–P800 for between-coat leveling
- Use solvent-based WGR with the "wet wipe, dry wipe" two-cloth method to remove silicone and oils
- Respect primer recoat windows — epoxy (72hr–7d), urethane (24–48hr) — and always check the TDS
- Use automotive-grade fine-line tape for sharp color breaks; back-tape jambs for soft feathered edges
- Tack rag immediately before spraying, and never touch the panel with bare hands after
- Work inside a clean, positive-pressure inflatable booth to eliminate airborne dust contamination
Need a Dust-Free Environment?
Sewinfla inflatable paint booths create positive pressure to keep contaminants out — the perfect environment for your surface prep work to pay off.
Learn More